There is a question that follows almost everyone who starts shooting video. Why does my footage look flat and amateur when the stuff I admire looks like a film, even when we are pointing similar cameras at similar scenes. The instinct is to blame the gear and start saving for a more expensive camera. That instinct is almost always wrong. The look people call cinematic does not live in the price of the body. It lives in a small set of choices that most cameras can already make, and once you understand them, you can pull that look out of equipment you already own. Let me reveal the parts that actually matter.
The first is frame rate, and it is the one people get backward most often. There is a common belief that more is better, that shooting at a high frame rate gives you smoother, nicer video. For everyday clips, higher can look hyper real and a little cheap, the way live television or a soap opera looks. Film has a specific motion feel that comes from a lower frame rate, traditionally around twenty four frames per second. That slightly less smooth motion is part of what your brain reads as cinematic, because it is the cadence movies have used for a century. If your footage looks too crisp and video like, your frame rate is often the reason. Matching the film standard is step one, and it costs nothing.
The second setting is shutter speed, and it works hand in hand with frame rate. Your shutter controls how long each individual frame is exposed, and it determines how motion blurs between frames. The film look comes from a shutter speed set to roughly double your frame rate, a relationship camera people call the one eighty degree rule. When your shutter is set too fast, motion becomes sharp and stuttery, like a sports replay, and the eye reads it as harsh. When it sits at that doubled value, motion carries a natural, smooth blur that feels filmic and easy to watch. Most people never touch their shutter and let the camera guess, which is why their motion looks off without them knowing why. Setting it deliberately is the fix.
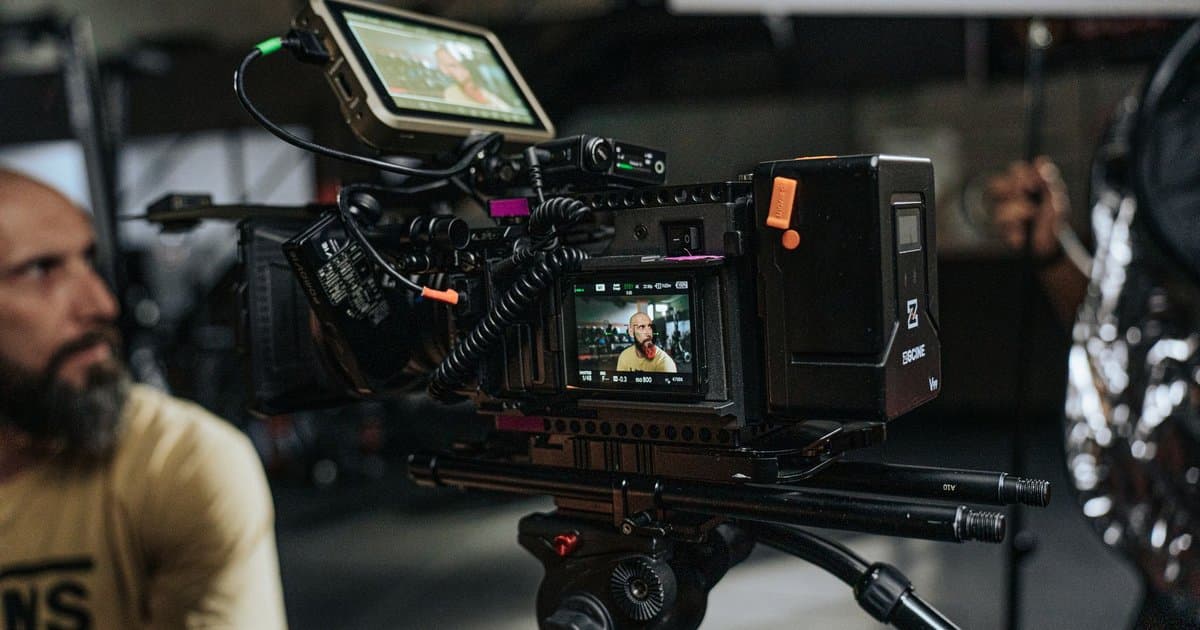
The third piece is the picture profile, sometimes called the color profile, and this is where a lot of the magic actually hides. Cameras ship with a default setting that bakes in punchy contrast and heavy saturation to make footage look pleasing straight away. That baked in look is the opposite of cinematic, because it crushes the shadows and blows out the highlights, leaving you no room to shape the image afterward. A flatter profile captures more of the range between dark and bright, which looks dull and gray on the back of the camera but holds far more information. That flat footage is meant to be color graded later, where you shape the contrast and tone yourself. The cinematic images you admire were almost never cinematic in the camera. They were made that way in editing.
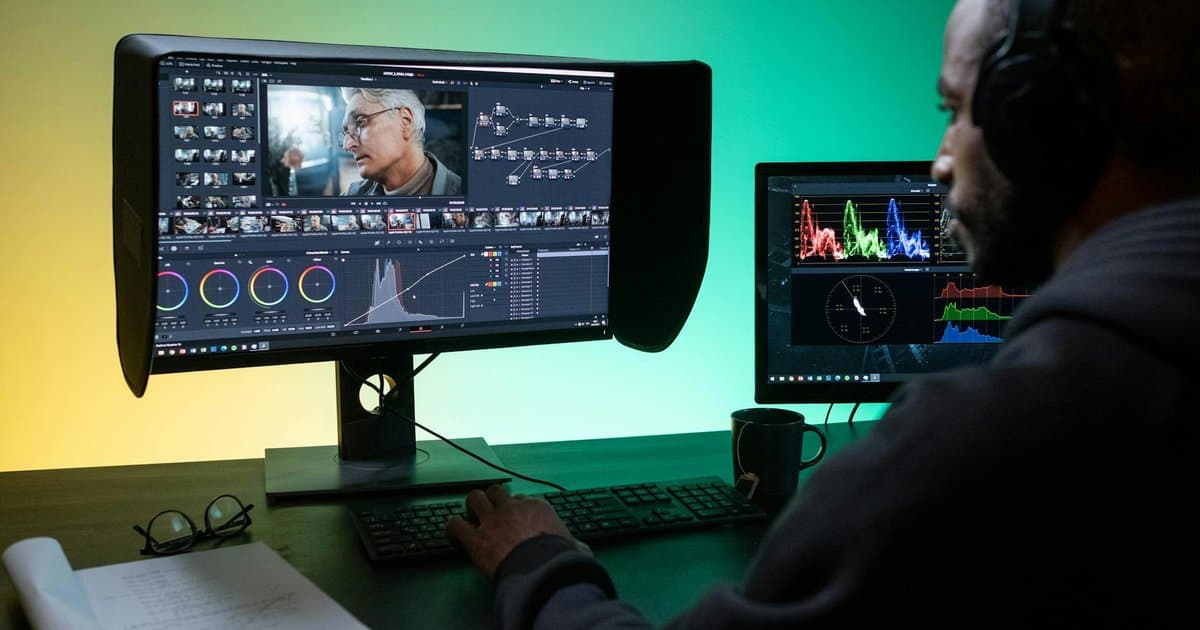
Color grading is the step most beginners skip entirely, and it is doing more work than the camera ever did. Grading is simply adjusting the color and contrast of your footage after you shoot, and it is where a flat, lifeless clip becomes the moody, intentional image you were chasing. You do not need expensive software to start, since most editing tools include the basic controls, and you do not need to be a colorist to make a meaningful difference. Even small, consistent adjustments to contrast, color temperature, and saturation across a whole project will pull it together and give it a deliberate, finished feel. The look you wanted was always waiting in this stage, not in the next camera purchase.
There is a piece of this that goes beyond settings, and it is worth naming. Light shapes an image more than almost anything else. The most cinematic footage usually has a clear, directional source of light rather than flat, even lighting hitting everything the same way. Shadows give a scene depth and mood, and a face lit from the side reads as far more intentional than one lit head on. You can get this from a window, a single lamp, or natural light at the right time of day, none of which require a budget. Before you blame your camera for flat footage, look at where your light is coming from. Bad light makes any camera look cheap, and good light makes a modest one look expensive.
So here is the honest version of the answer. The gap between your footage and the film look you want is mostly frame rate, shutter speed, picture profile, and what you do in editing, supported by paying attention to your light. None of that is locked behind a more expensive body. The people whose work you admire are not winning because of what they bought. They are winning because they understand these few choices and use them on purpose, every time. Learn the same handful of settings, build the grading habit, and watch how cinematic the camera you already own can suddenly look. The secret was never the gear.