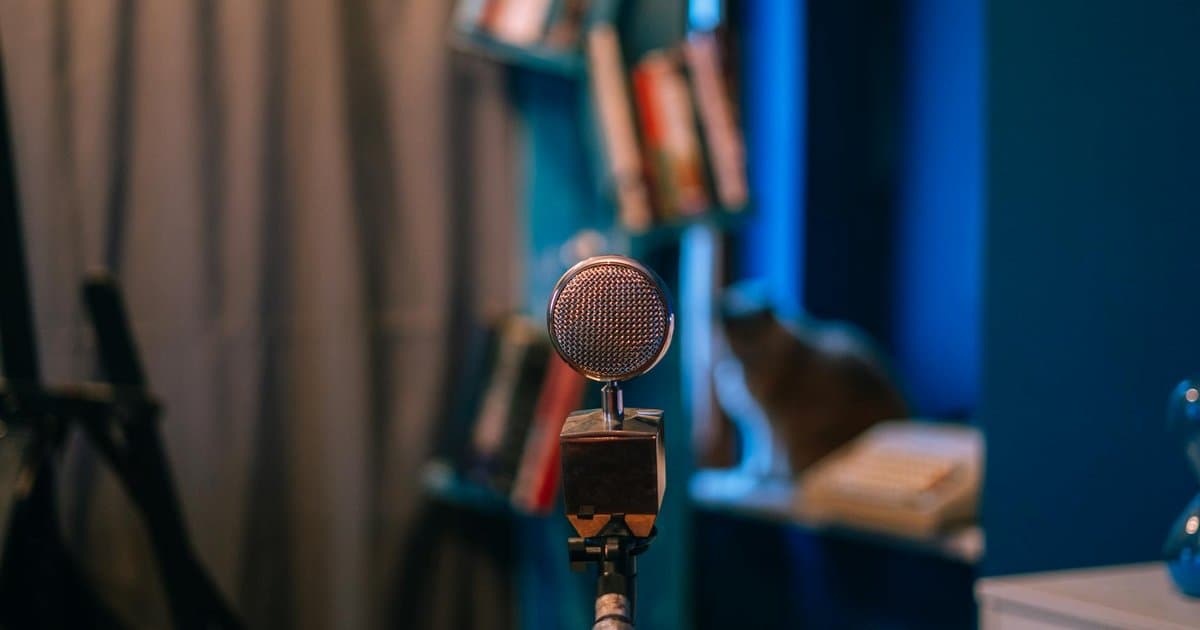
Most people think bad audio comes from a cheap microphone. They spend hundreds chasing a better one and walk away disappointed when the new gear sounds almost the same. The real problem is usually the room, not the mic. Sound bounces off bare walls, hard floors, and windows, then arrives at the capsule a second time as a thin echo. Your ear barely notices it while you talk, but the recording captures every reflection. That hollow, distant quality people call amateur is almost always reflection, not the microphone you bought.
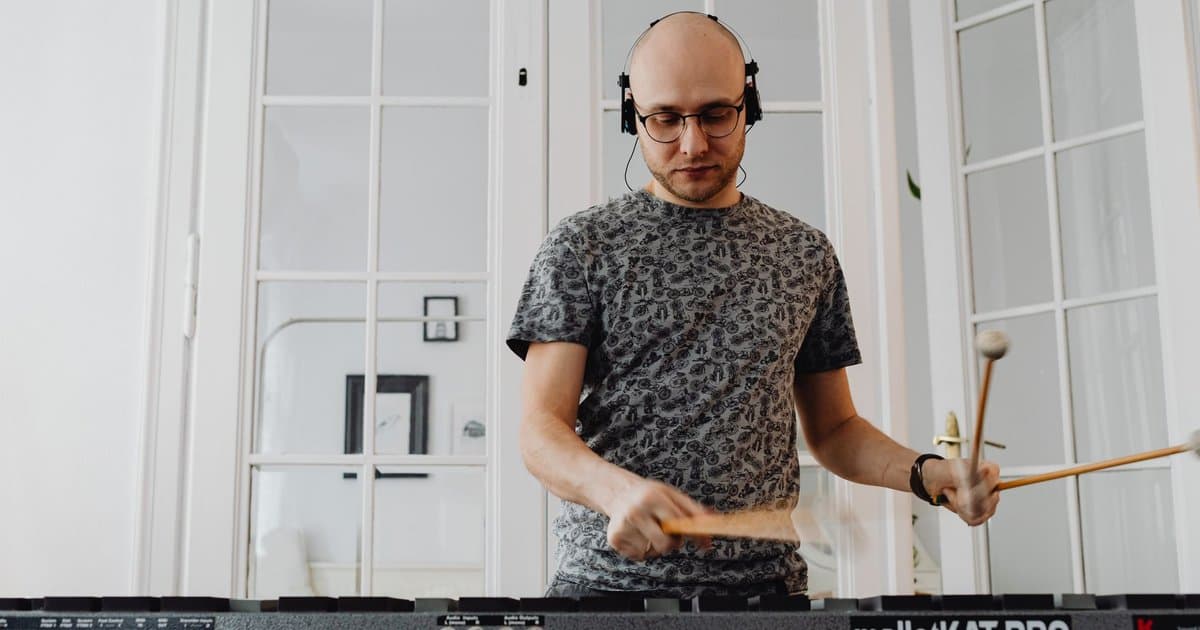
Here is what is actually going on. A mic picks up the direct sound of your voice and the reflected sound coming off every hard surface near you. In a small, untreated room those reflections return within milliseconds, and the brain reads that as boxy and cheap. Pricier condenser mics often make this worse, because they are more sensitive and grab even more of the room. That is why a creator with a four hundred dollar mic in a bare bedroom can sound worse than someone with a ninety dollar mic recording inside a closet full of clothes. The space is doing more work than the equipment ever could. Once you understand that, the whole problem shifts.
The fix costs far less than a new mic. Soft material absorbs reflections, so the goal is simply to put soft things between your voice and the nearest hard walls. A closet packed with hanging clothes is one of the best recording booths available, and it is free. Moving blankets hung on a cheap stand, a thick rug under your chair, and a couple of cushions behind the mic will tame most of the problem. You do not need a fully treated studio to sound clean and professional. You only need to stop the earliest reflections from reaching the mic, and soft surfaces handle that for almost nothing. Try it once and the difference is obvious on playback.
Mic placement matters just as much as treatment. Get close, usually four to eight inches, because the nearer you sit the more the direct sound overpowers the reflected sound. Speak slightly across the mic instead of straight into it, which cuts the harsh pops on hard consonants. Set your gain so your normal speaking voice peaks well below the top of the meter, leaving headroom for louder moments and keeping the background hiss low. A pop filter helps, but distance and angle do more than people expect. These are small habits, yet together they clean up a recording before you ever touch an editor. Most of the polish you admire in other creators starts here, long before post.
Then there is monitoring, the step almost everyone skips. Record fifteen seconds, stop, and actually listen back on headphones in the same spot you plan to record. You will hear the room, the hiss, and any echo far more honestly through headphones than through laptop speakers. If it sounds boxy, add more soft material and move closer before changing anything else. Consistency is the last piece, since matching your setup session to session keeps your sound steady across episodes. Mark your chair position, your mic height, and your gain so you can repeat it every time. Once you hear how much the room was adding, you stop blaming the mic and start fixing the space, and your audio finally sounds like the work you have been studying.